Going Steady With the Glidecam HD 4000
In film class, we were challenged with tales of the unaffordable Steadicam: a magical device that would allow a cinematographer to move freely around with a camera attached most unattractively to his/her midsection (despite the typical advertising efforts, these are never sexy) and end up with footage smoother than the best rail, dolly, crane shot. Then a couple of weeks ago I discovered that I could rent the Glidecam HD 4000 for 40 bucks, locally at Spartan Photo Center.
(2019 UPDATE: The Glidecam HD 4000 was a big deal in 2011 when this article was written, but is no longer easy to find. This model was intended “for cameras 4-10 lbs,” a common DSLR weight. A web search reveals many competitors at lower price points. While way cheaper, many of those do not offer the 3-way axis that made the Glidecam so steady. I don’t currently have any experience with those alternatives and cannot make a recommendation to that effect.)
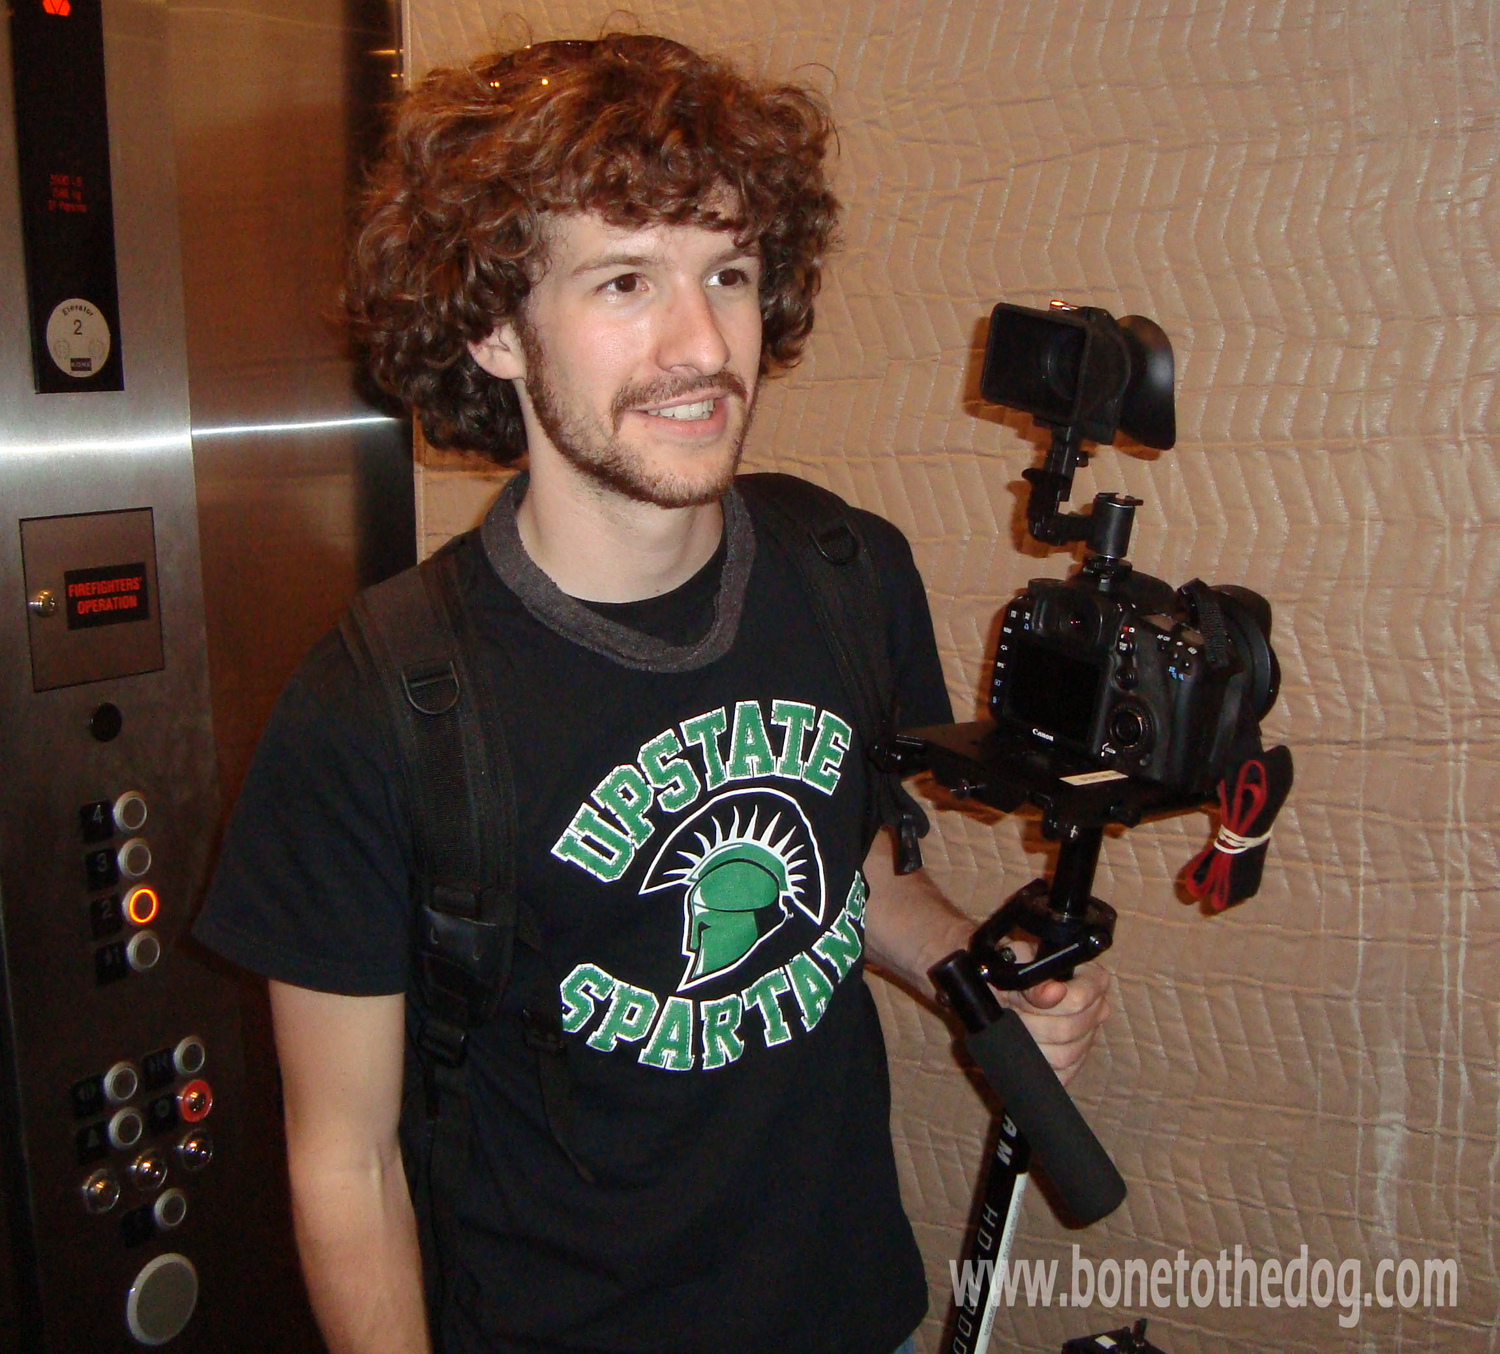
At the moment, we’re shooting a feature-length film with a Canon 7D (HD-DSLR) and attached “Hoodman Cinema Kit Pro” (loupe, arm, eyecup). Along with any of our lenses, our kit still lands in the “small camera” category, which is perfect for the Glidecam; so my team and I recently took advantage of the opportunity to rent the Glidecam for our weekly shoot.
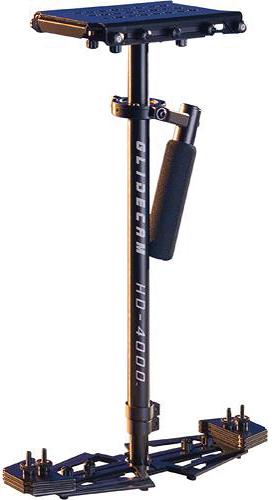
What is the Glidecam HD-4000? B&H describes it as “a lightweight, hand-held camcorder stabilizing system,” which I feel needs some elaboration. In reality, this device can turn a patient, dedicated low-budget cinematographer’s footage into a masterpiece. I say patient and dedicated because the Glidecam is not “magical.” It’s not even “Easy as 1, 2, 3.” It actually takes quite a bit of practice and effort to get it to work with you. My first walking tests gave me footage that looked like a POV shot from a ghost, or maybe a Gaspar Noé film, which probably isn’t the look you want for your documentary, wedding video, etc. I did, however, notice right away that not a single footstep or tremble was visible. Once you have the feel for it you’ll never want to go back to your DIY PVC rig again.
What’s so difficult? I was warned that setup was “crucial” or even “difficult” with the Glidecam, and I have to agree with both of these warnings. What’s worse is that there appear to be several different schools of thought on how to balance it! Luckily for me I had it for a whole weekend, and I was able to practice and watch tutorials on YouTube to get it right. The technique is equally challenging. While one hand grips the handle firmly, the other guides your pans, tilts, or lack thereof. This thing is counter-weighted so it can rotate in any direction with ease – and it will do so if you don’t get a grip on it with your guide hand. Too much grip, and your inferior human movements transfer to the camera. There’s a delicate balance in between.
After a few hours, I was shooting very comfortably and very confidently. I still feel like I could use another weekend of practice, but the looks on everyone’s faces as we reviewed our footage let me know it pulled through. Once I had it working with me, the Glidecam unlocked all of the barriers in my mind telling me what shots I could get away with. I started experimenting. And when you start experimenting, you create things that are truly worthwhile. Heck, even our behind the scenes footage looks awesome from that day.
The most important thing to remember is: Don’t overdo it. A couple of shots we took were simple pans, tilts and other stationary shots that could have easily been done with any decent tripod, because that’s what was needed. In fact, I wish I’d been able to remove the camera and put it on a tripod for those shots – my arm/shoulder could have used a break. There is a quick-release accessory that matches Manfrotto’s standard video head plate… but I did not have access to it on my shoot. Removing the camera altogether is, unfortunately, out of the question. Setup is a very delicate process, and even changing out a lens in the field could compromise your weight balance enough to delay a tight shooting schedule. I stuck with my wide angle, deep DOF lens, because I wouldn’t have been able to use my loupe and hold focus with a shallow DOF anyway.
(UPDATE: We eventually attached quick release plates to all of our rigs. This allows rapid swapping between tripod, monopod, DIY shoulder rig, and Glidecam. Especially with the Glidecam, being able to snap-on and snap-off saves a ton of time on set. Often, we wouldn’t even need to rebalance the Glidecam while swapping. These are the ones I use.)
Conclusion:
The Glidecam HD-4000 is a serious filmmaker’s tool on an indie filmmaker’s budget, and a great accessory to add to your kit. At $40/day for rental, vs. $550 to purchase, my only debate is whether or not I can afford to go ahead and buy the thing. Hmm… and what accessories do I want…
Share this on: Facebook | LinkedIn | Reddit
Further Reading
Next:
Duct Tape, Safety, & Budget Faux Pas
Previously:
Graveyard Shift
Back to All Blog Posts